Room by Room Packing Guide: How to Pack Every Part of Your Home for Moving
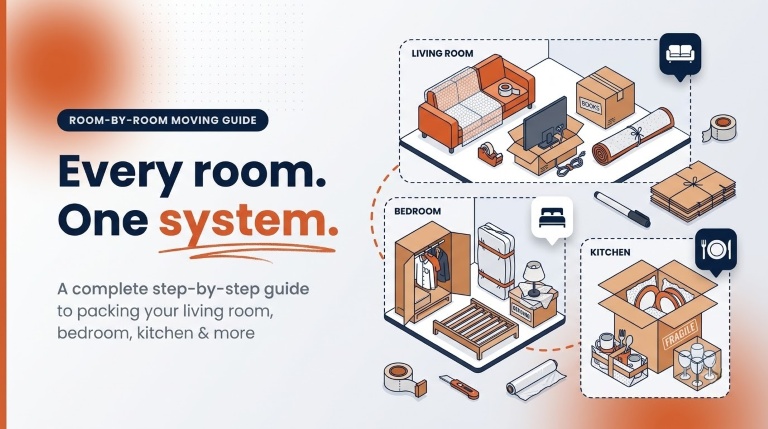
Packing an entire home is rarely finished in a weekend — most homes need 25 to 40 boxes, and every room brings its own challenge, from fragile decor to leak-prone liquids. This guide breaks it down room by room, covering exactly how to sort, wrap, and box each space so nothing arrives broken, missing, or mixed up.
Jump to a Room
Before You Start Packing
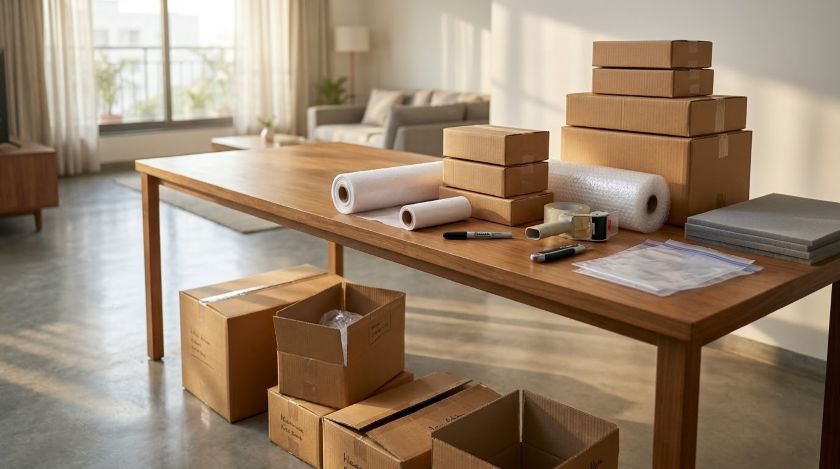
Start 3–4 Weeks Early
Pack an Overnight Essentials Bag
Set aside one bag with a change of clothes, toiletries, phone chargers, basic bedding, and any daily medication.
Gather Your Supplies First
- Boxes in small, medium, and large sizes (small for books and heavy items, large for lightweight bulky items like bedding)
- Packing tape and a dispenser
- Bubble wrap and packing paper
- A permanent marker for labeling
- A box cutter for unpacking later
If you're planning to pack your household yourself, check out our DIY packing tips for practical guidance on packing, protecting, and organizing your belongings.
Packing Tips for the Living Room
The living room usually holds the widest mix of item types in your home — furniture, electronics, decor, and fragile pieces all in one space — so sorting before you pack is essential.
Tip #1: Sort Before You Box
Group everything into categories first: electronics, breakables, wall hangings, rugs, and furniture.
Tip #2: Pack Electronics Carefully
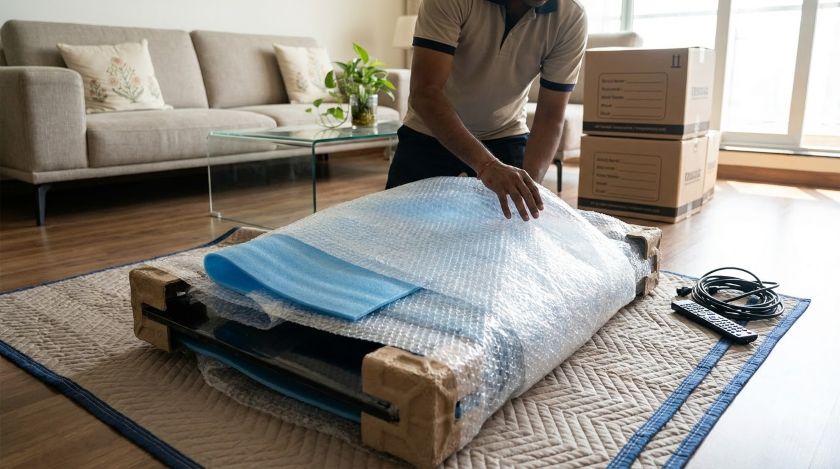
Photograph the back of your TV, set-top box, or speaker system before unplugging anything — it saves guesswork when reconnecting later. Secure cables with twist ties, wrap screens in bubble wrap or a soft blanket, and use original boxes for speakers where possible.
Tip #3: Disassemble Furniture
Sofas, coffee tables, and chairs often need partial disassembly. Empty any drawers first, then wrap exposed surfaces in bubble wrap to prevent scratches during transit.
Tip #4: Protect Rugs
Have rugs cleaned before packing so dirt doesn't transfer to other items.
Tip #5: Wrap Fragile Decor Individually
Mirrors, lamps, and artwork need individual wrapping — bubble wrap, old towels, or soft clothing all work. Remove bulbs from lamps before packing.
With the living room boxed and labeled, the bedroom is next — and it comes with its own set of challenges, starting with the wardrobe.
Packing Tips for the Bedroom
The bedroom is usually the most time-consuming room to pack simply because of volume — clothes, accessories, and bedding all add up fast.
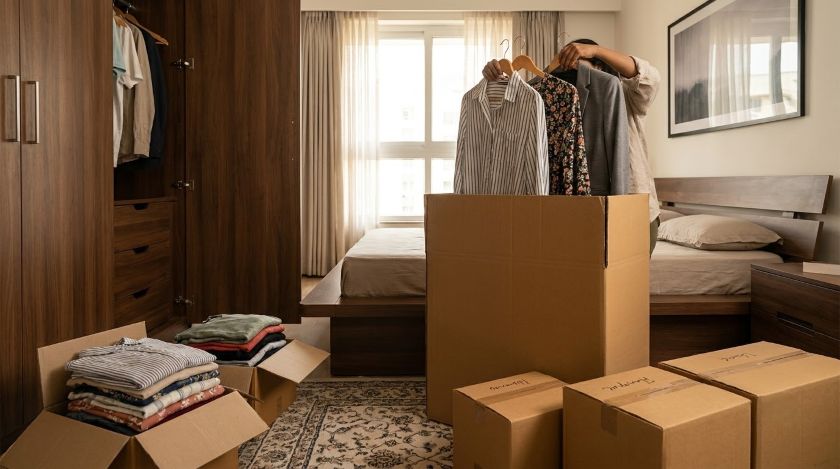
Tip #1: Handle the Wardrobe Efficiently
Clothes don't need to come out of drawers first — dressers can often be moved as-is once drawers are secured with tape or wrapped in paper.
Tip #2: Pack Accessories Separately
For shoes, hats, and watches, wrap individually in bubble wrap; stuff hats with tissue paper so they hold their shape.
Tip #3: Wrap Photo Frames and Fragile Decor
Wrap frames and mirrors in bubble wrap or soft cloth, pack them upright rather than flat, and keep lighter items on top of the box.
Tip #4: Pack Bedding Last
Wash sheets and pillowcases before packing if time allows, then pack them into a suitcase or large bag rather than a box — this keeps them clean and easy to access.
Once the bedroom is done, the smaller — but just as important — spaces come next, starting with any kids' rooms in the home.
Packing Tips for the Kids' Room / Nursery
Kids' rooms combine fragile furniture, small parts, and sentimental items — and a disorganized approach here tends to cause the most stress on move-in day.
Tip #1: Pack Toys by Type, Not All Together
Sort toys into groups — stuffed toys, small parts/building sets, and electronic toys — and pack each group separately.
Tip #2: Disassemble Cots and Cribs Properly
Remove mattresses and disassemble cots or cribs following the manufacturer's steps.
Tip #3: Set Aside a "First Night" Box
Pack one small box with your child's favorite toy, a comfort item, and a change of clothes, and keep it separate from the rest of the boxes.
Tip #4: Protect Sentimental and Delicate Items
Baby books, framed photos, and keepsakes should be wrapped individually and packed in a small, clearly marked box you carry yourself rather than load with the general move.
With the kids' room packed, move on to another space that needs careful handling for a different reason — cables and documents in the home office.
Packing Tips for the Home Office / Study
A home office holds a mix of electronics, paperwork, and furniture — each needing a slightly different packing approach.
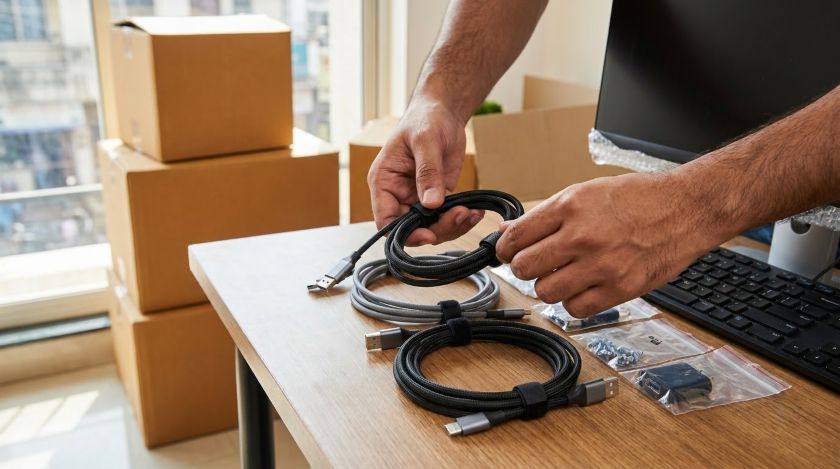
Tip #1: Back Up and Label Electronics
Before disconnecting your desktop, laptop dock, or monitor, back up any important files and take a photo of your cable setup.
Tip #2: Sort Documents Before Boxing
Separate important documents (identification, financial records, contracts) from general paperwork.
Tip #3: Disassemble Desks and Shelving
Remove drawers, detach legs where possible, and wrap desk surfaces in bubble wrap or moving blankets to prevent scratches.
Tip #4: Pack Books and Files Efficiently
Books are heavy — use small boxes and pack them flat, alternating spine direction to fill space efficiently. For additional guidance, see our guide to packing and moving books safely.
With work-related items packed, the next stop is the kitchen — one of the busiest rooms to pack, but manageable with the right order of operations.
Packing Tips for the Kitchen
The kitchen is small in size but large in the number of items it holds, which is exactly why it tends to overwhelm people during packing.
Tip #1: Declutter and Plan Meals Around Packing
A few days before the move, plan simple meals that use up what's in your fridge and pantry.
Tip #2: Pack Dry and Wet Items Separately
Seal dry goods in zip-lock bags or airtight containers.
Tip #3: Prepare Kitchen Appliances
Defrost and clean your refrigerator at least 48 hours before the move.
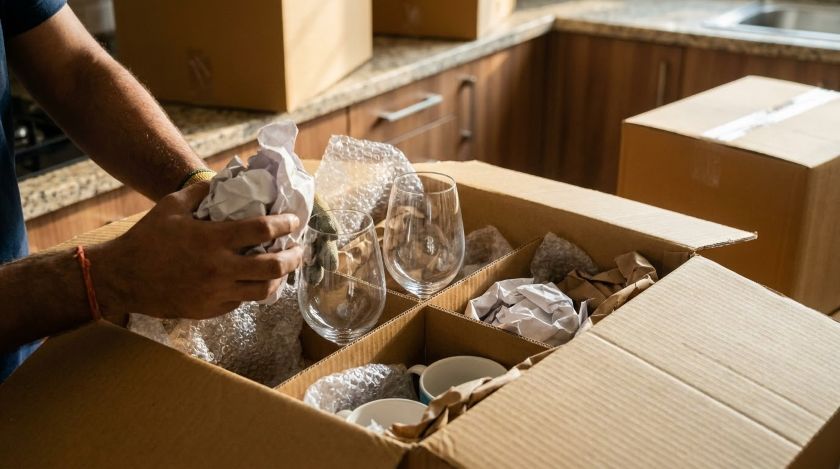
Tip #4: Box Glassware With Separators
Pack glasses and mugs in a box with dividers or lots of padding between each piece.
Tip #5: Bundle Silverware and Utensils
Group utensils by type and bundle them together with a rubber band or wrap in a towel before boxing — this keeps them from shifting and damaging more delicate items packed nearby.
Kitchen items often overlap with the dining room — here's how to keep the two separate so nothing gets double-handled.
Packing Tips for the Dining Room
The dining room's packing needs are distinct from the kitchen's — this section covers only the furniture and display pieces specific to this room; everyday glassware and silverware are covered in the Kitchen section above.
Tip #1: Disassemble the Dining Table and Chairs
Remove table legs where possible and wrap each one separately in a moving blanket.
Tip #2: Empty and Pack China Cabinets
Wrap each china piece individually and pack upright in a divided box, with the heaviest plates at the bottom.
Tip #3: Protect Table Linens and Centerpieces
Fold tablecloths and runners into a small box or suitcase alongside other linens.
From the dining room, head to one of the smallest but most detail-heavy spaces in the house — the bathroom.
Packing Tips for the Bathroom
Bathrooms hold more items than they appear to, and most of them carry some risk of leaking or spilling if not packed correctly.
Tip #1: Decide What's Worth Moving
Go through your bathroom cabinet and set aside anything expired, nearly empty, or not worth the cost of moving.
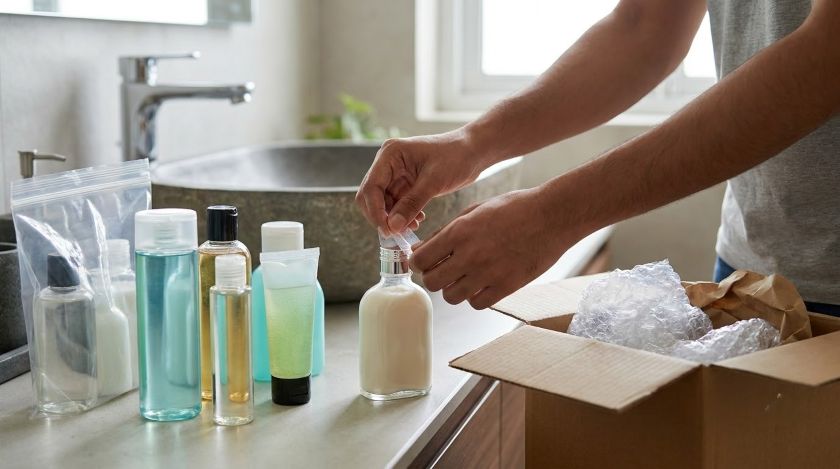
Tip #2: Seal Toiletries and Liquids
Tape over the openings of bottles before packing, then place each one inside a sealed plastic bag as a second layer of protection.
Tip #3: Pack Bathroom Electronics Separately
Hair dryers, electric razors, and trimmers should be packed in their own small box, with cords secured using twist ties to prevent tangling or damage.
Tip #4: Handle Tubed and Makeup Products
Toothpaste, creams, and other tubed products are less prone to leaking but should still be grouped in a sealed bag inside a small labeled box, kept separate from anything breakable.
Liquids and leakage risk carry over into the next space too — the laundry and utility area.
Packing Tips for the Laundry / Utility Area
Like the bathroom, the laundry area is full of liquids and small tools that need to be sealed and packed with leakage prevention in mind.
Tip #1: Seal Detergents and Cleaning Liquids
Tape bottle caps shut and place each container in a sealed bag before boxing.
Tip #2: Pack Laundry Tools and Accessories
Group items like drying racks, ironing boards, and laundry baskets together.
Tip #3: Use What You Have as Padding
Empty laundry baskets and hampers can double as extra boxes for lightweight, non-fragile items — a practical way to reduce the number of boxes you need to buy.
The last stop on this guide is the space that tends to get packed in a rush — the garage and general storage areas.
Packing Tips for the Garage / Storage
Garages tend to hold a mix of tools, equipment, and miscellaneous items accumulated over time — a little organization here goes a long way.
Tip #1: Sort Tools by Type and Size
Group hand tools, power tools, and hardware (nails, screws, fittings) separately.
Tip #2: Pack Sports and Outdoor Equipment
Bikes, sports gear, and camping equipment often don't need boxing at all — they can be secured with straps or wrapped in moving blankets instead, saving box space for smaller items.
Tip #3: Box and Label Chemicals or Flammables Carefully
Any partially used chemicals — paint, cleaning fluid, garden treatments — should be sealed tightly, packed upright in a sturdy box, and clearly labeled with their contents.
That completes the room-by-room breakdown. A few common questions come up at almost every stage of this process — here are quick, direct answers.
FAQs
Conclusion
Packing doesn't have to be the most stressful part of moving — it just needs a system. Working room by room, starting early, and giving fragile and liquid-prone items extra protection covers almost every packing challenge you'll run into, from the living room's electronics to the garage's odds and ends. For more practical advice, explore our packing and moving tips.
If you'd rather hand the packing off entirely, you can explore our house shifting services for professional packing, loading, transportation, unloading, and unpacking. You can also share your moving requirements to get matched with suitable packers and movers.