How to Move a Washing Machine Safely: 9 Steps for Every Type
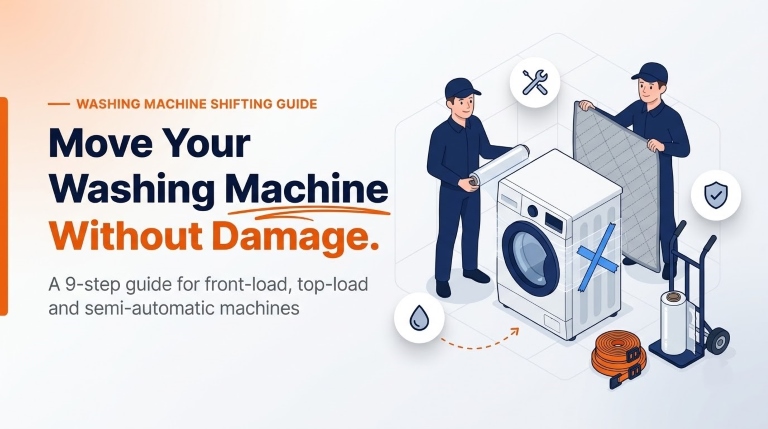
Knowing how to move a washing machine matters because it is not like a sofa or a table. It has a suspended drum, a drain pump and water lines, and each of them can be damaged by a careless move. Most damage traces back to three skipped steps: draining it fully, locking the drum and keeping it upright. This guide gives you a 9-step process for front-load, top-load and semi-automatic machines, quick fixes if something goes wrong after the move, and a simple way to decide between doing it yourself and hiring professionals.
Front-Load vs Top-Load vs Semi-Automatic: What Changes When You Move Them
All nine steps apply to every machine. Step 6 (locking the drum) and the number of people you need depend on the type.
| Machine type | Approx. weight | Transit bolts? | Special step | People needed |
|---|---|---|---|---|
| Front-load (fully automatic) | Heaviest, roughly 55–80 kg | Yes, usually 3–4 | Fit transit bolts and drain the pump filter | 2–3 |
| Top-load (fully automatic) | Medium, roughly 30–45 kg | Usually no; check the manual | Secure the lid and keep it strictly upright | 2 |
| Semi-automatic (twin-tub) | Lightest, roughly 20–35 kg | No | Drain both tubs and secure both lids | 2 |
How to Move a Washing Machine: 9 Steps
Prefer to watch first? This video walks through the full process step by step.
Other appliances need similar care, so see our guide on preparing electronics and appliances for moving if you are shifting more than one.
Step 1: Read the Manual and Check Your New Home's Hookups
Start with the manufacturer's manual, because it lists the transport steps for your exact model.
- Find the model number on the label at the back or near the door or lid. If you have lost the manual, download the PDF from the brand's website.
- Before moving day, check that the new home has a water inlet tap near the machine, a drain outlet, an earthed three-pin socket, a level floor and a clear route (lift or stairs) from the vehicle to the spot.
Step 2: Gather Tools and Packing Materials
Collect everything before you start, so the machine is never left half-disconnected.
- Tools: adjustable spanner, pliers, bucket, shallow tray, towels.
- Protection: painter's tape, stretch film, one or two moving blankets, corner protectors, a zip bag and marker for small parts. Use the original box and thermocol if you still have them.
- Transport: hand truck with straps, rope or ratchet straps, and a waterproof cover for the monsoon.
See types of packing materials if you are unsure what to buy.
Step 3: Run a Cleaning Cycle and Let It Dry
A clean, dry machine will not develop mould or odour while it is closed up in transit.
- Run an empty cycle using the machine's tub-clean programme or a washing machine cleaner.
- Wipe the door seal and the detergent drawer, and clear the lint filter if your model has one.
- Leave the door or lid and the drawer open overnight (about 24 hours) to dry.
Step 4: Switch Off, Unplug and Secure the Power Cord
Switch off at the socket and unplug the machine before touching any hose.
- Keep your hands dry.
- Coil the cord and tape it to the back panel with painter's tape or a cable tie.
Step 5: Disconnect the Water and Drain Completely
Water left inside can leak in transit and damage the pump, so drain every part.
- Close the tap and unscrew the inlet hose from the tap and from the machine. Most machines have one cold-water inlet. If yours has two, disconnect both.
- Lower the drain hose into a bucket and let the remaining water run out.
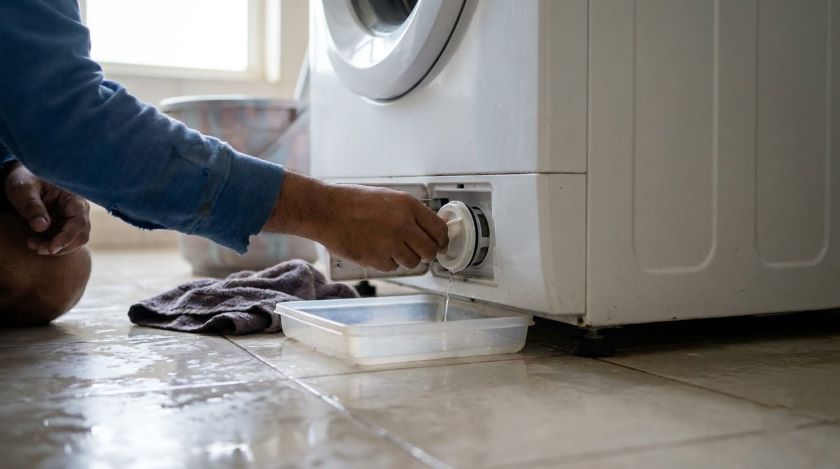
- Front-load: open the small pump filter panel at the bottom front and drain the filter slowly into a shallow tray. Keep towels ready.
- Semi-automatic: drain both the wash tub and the spin tub.
- Cap the hose ends, then coil the hoses and place them inside the drum or tape them to the body. Keep the fittings in a labelled zip bag.
Step 6: Lock the Drum
Locking the drum stops movement from damaging the suspension.
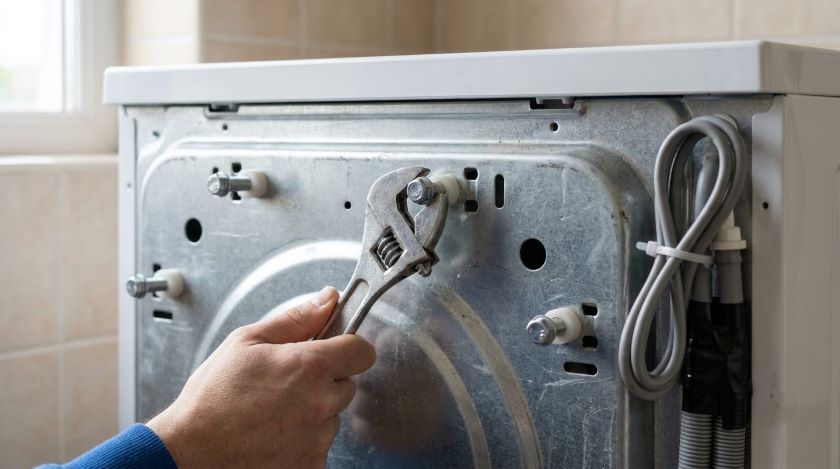
- Front-load: fit the transit bolts into the holes on the back panel and tighten them. Most machines use 3–4 bolts, so follow your manual. LG's transit bolt guide shows the process for one brand.
- If the bolts are lost: contact the brand's service centre with your model number to get the correct set.
- Top-load: follow the manual. Most top-loaders have no transit bolts, so tape the lid shut with painter's tape and keep the machine upright.
- Semi-automatic: tape both lids shut and bag any loose parts, such as the lint filter.
Step 7: Photograph, Secure and Wrap the Machine
Photograph the machine first, then protect it.
- Take photos of the body, the control panel and the back connections. They help if you need to make a damage claim.
- Tape doors, lids and the detergent drawer shut with painter's tape.
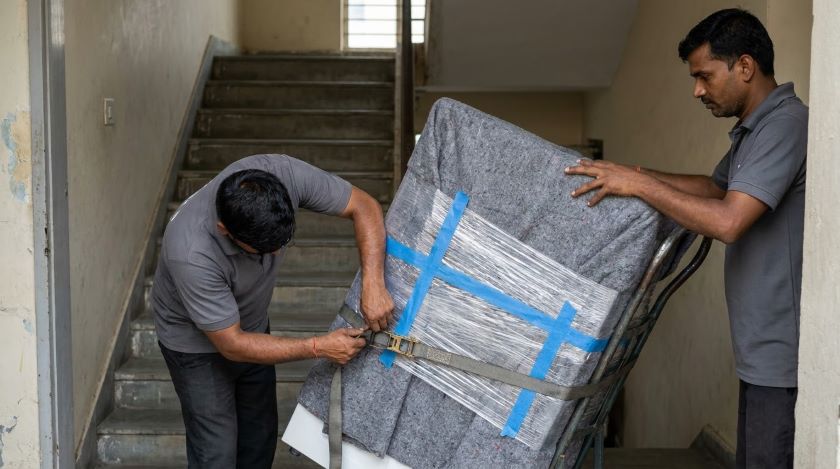
- Wrap the body in one or two moving blankets, then stretch film. Pad the corners. If you have the original box, use it with the thermocol.
Step 8: Lift and Transport the Machine Upright
Keep the machine upright from the old home to the new one.
- Lift from the base with two people (three for a large front-load machine). Use the hand truck on level ground and go slowly on stairs.
- Load it against the side or front wall of the vehicle, strap it so it cannot slide, and keep everything else off the top.
- In the monsoon, cover it with a waterproof sheet.
For more on handling bulky items, read how to move large heavy items and our loading and unloading tips.
Step 9: Install, Level and Test the Machine
Remove all transit locks before the first wash, then level the machine and test it empty.
- Remove the transit bolts and any tape or padding. Fit the plug caps into the bolt holes if they were supplied. Store the bolts in a zip bag for your next move.
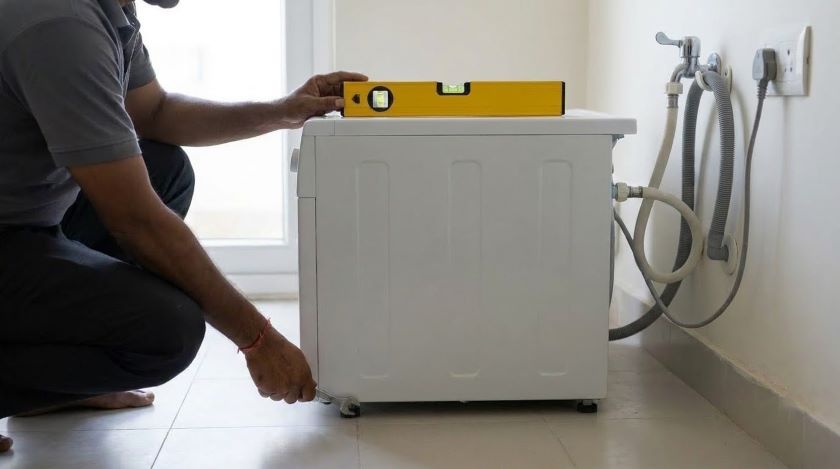
- Place the machine in its final spot. Adjust the feet until a spirit level reads level, then tighten the lock nuts.
- Connect the inlet hose to the tap and set the drain hose at the height your manual specifies. Plug into the earthed socket and use a stabiliser if the brand recommends one.
- Run an empty cycle. Check for leaks, noise and vibration.
- Keep your photos until you are sure the move caused no damage.
Washing Machine Not Working After the Move? Quick Fixes
| Problem | Likely cause | What to do |
|---|---|---|
| Violent shaking or "walking" | Transit bolts still fitted, or machine not level | Switch off, remove the bolts and level the machine |
| Water leaking | Loose hose connection or pump filter cap not tightened | Re-tighten the hoses and refit the filter cap |
| Not draining | Kinked drain hose or blocked pump filter | Straighten the hose and clean the filter |
| Door or lid will not close or start | Latch blocked by tape or padding | Remove all tape and padding, then close firmly |
| Loud noise | Object left in the drum, or uneven floor | Check the drum for loose items and relevel |
DIY or Hire Movers? Washing Machine Moving Cost in India
Many households can move a washing machine themselves. Some situations are better handled by a trained team.
| Situation | DIY works when | Hire when |
|---|---|---|
| Machine type | Semi-automatic or a lighter top-load | Front-load or a large-capacity machine |
| Route | Same floor, or a working lift | Several floors with no lift |
| Distance | Same building or a short local move | Intercity or long distance |
| Transit bolts | You have the full set | They are lost or will not fit |
| Helpers | Two able adults | Nobody to help |
| Installation | You are comfortable connecting hoses and levelling | You want it installed and checked |
- What professional shifting includes: packing materials and wrapping, a trained team to lift and load, transport, and unloading at the new home. Installation is available on request.
- Ask any mover whether transit insurance is included or optional. Our guide to home relocation insurance explains what to look for.
- Cost: professional washing machine shifting typically costs ₹1,500–₹4,000. The final price depends on distance, machine type and weight, floors and lift access, packing materials, and whether installation is included. These factors affect moving charges in the same way for other household items. For comparison, replacing a front-load machine often costs ₹25,000 or more.
FAQs
Conclusion
A washing machine moves safely when it is clean, fully drained, locked, wrapped and carried upright.
If you would rather leave the lifting to a trained team, AssureShift can help.