Pre-Move Cleaning: Tips for Preparing Your Old Home for a Smooth Transition
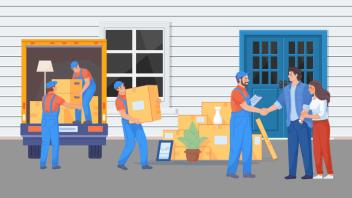
Moving out of your old home can be a daunting experience. Amidst the chaos of packing and organizing, it's crucial not to overlook the importance of cleaning and preparing your old home for the next occupants. In this blog, we will discuss the significance of properly cleaning and preparing your old home before moving out, as well as the benefits it offers to both you and the new residents.
Importance of Cleaning and Preparing Your Home Before Moving Out
-
Upholding good etiquette: Cleaning your old home before moving out is a sign of respect and courtesy towards the new occupants. It demonstrates your responsibility and consideration for their well-being.
-
Fulfilling contractual obligations: In many rental agreements or property sales, it's a contractual obligation to leave the premises clean and in good condition. Failing to do so may result in penalties or withheld security deposits.
-
Easier transition for the new occupants: A clean and well-prepared home will make it easier for the new occupants to move in and settle down, saving them time and effort.
#1 Pre-cleaning Preparation
Before diving into the cleaning process, it's essential to prepare and organize your old home to ensure a smooth and efficient cleaning experience.
Decluttering and Organizing
Decluttering is a crucial step in the pre-cleaning preparation process. By sorting your belongings, you can determine which items to keep, donate, sell, or discard. This process will not only make packing and moving more manageable but also help you maintain a clean and organized space.
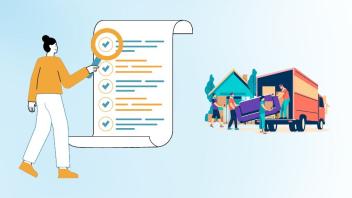
Creating a Cleaning Schedule and Checklist
Creating a cleaning schedule and checklist can help you stay organized and ensure that no crucial tasks are overlooked. Begin by prioritizing tasks based on their importance and the time they may require. Consider factors like:
-
Time availability: Determine how much time you have before moving out and allocate specific days or time blocks for cleaning tasks.
-
Resources required: Identify the tools, equipment, and cleaning supplies needed for each task and ensure that you have them readily available.
-
Additional help: If necessary, enlist the help of friends, family, or professional cleaning services to assist with the cleaning process.
#2 Cleaning the House
Dusting and Vacuuming the House
Start from the top and work your way down. Use a long-handled duster or a vacuum cleaner with a brush attachment to remove dust and cobwebs from ceiling fans, light fixtures, and air vents.
Wipe down window sills, shelves, and cabinets with a damp cloth or a microfiber duster to remove dust and dirt. Don't forget to clean inside the cabinets as well.
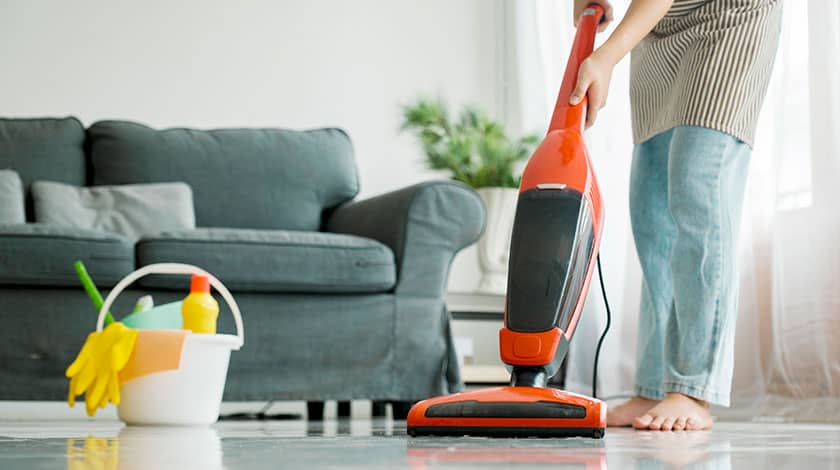
Cleaning Floors
Sweep or vacuum hard floors to remove dust, dirt, and debris. Then, use a mop and an appropriate floor cleaner to sanitize and restore shine to the floors.
Vacuuming and Steam Cleaning Carpets
Vacuum carpets thoroughly to remove dust, dirt, and allergens. For a deeper clean, consider renting a steam cleaner or hiring a professional carpet cleaning service to eliminate stubborn stains and odors.
Kitchen Cleaning
- Appliances (Oven, Refrigerator, Microwave, etc.)
Clean the interior and exterior of kitchen appliances like ovens, refrigerators, and microwaves. Remove shelves and trays to clean them separately. Use appropriate cleaning solutions and follow the manufacturer's instructions to avoid damaging the appliances.
- Countertops, Cabinets, and Sinks
Wipe down countertops, cabinets, and sinks with a mixture of warm water and dish soap or an all-purpose cleaner. Use a scrub brush or an old toothbrush for hard-to-reach areas and stubborn stains.
Bathroom Cleaning
- Toilets, Sinks, and Bathtubs/Showers
Use a toilet cleaner and a toilet brush to clean and disinfect the toilet bowl. Clean sinks, bathtubs, and showers with a bathroom cleaner and a scrub brush or sponge, paying close attention to drains, faucets, and showerheads.
- Tiles, Grout, and Fixtures
Clean bathroom tiles and grout using a mixture of warm water and vinegar or a specialized tile and grout cleaner. Use a toothbrush or a grout brush to scrub grout lines and remove built-up dirt and grime. Wipe down fixtures with a damp cloth or an appropriate cleaner.
Cleaning Windows and Doors
- Glass Panes and Screens
Use a glass cleaner or a mixture of water and vinegar to clean window glass panes. Remove and clean window screens with soapy water and a soft brush. Dry and replace the screens once clean.
- Door Frames and Handles
Wipe down door frames and handles with a damp cloth and an all-purpose cleaner or a disinfectant solution to remove dirt, fingerprints, and germs.
Outdoor Cleaning (if applicable)
- Porches, Balconies, and Patios
Sweep and mop porches, balconies, and patios to remove dirt and debris. Wipe down railings and outdoor furniture, if any.
- Garbage Disposal Areas
Ensure that all garbage has been removed from the premises and dispose of it according to local regulations. Clean and sanitize garbage disposal areas, including trash bins and recycling containers.
#3 Fixing Minor Damages
Once the cleaning process is complete, it's time to address any minor damages in your old home. Fixing these issues not only helps maintain the property's value but also shows consideration for the new occupants. Here are some steps to follow when addressing minor damages:
Patching Holes and Cracks in Walls
Small holes and cracks in walls can result from hanging pictures, shelves, or other wall-mounted items. To fix them:
-
Clean the area around the hole or crack, removing any loose debris.
-
Use a putty knife to apply a spackling compound or wall filler, filling the hole or crack completely.
-
Allow the compound to dry according to the manufacturer's instructions.
-
Sand the area smooth and even with the surrounding wall surface.
Repairing or Replacing Broken Fixtures
Broken fixtures, such as door handles, cabinet knobs, and light switches, should be repaired or replaced before moving out. Make sure to use matching hardware to maintain a consistent appearance throughout the home.
Addressing Plumbing and Electrical Issues
If you encounter any minor plumbing or electrical issues, such as leaky faucets or non-functioning outlets, it's essential to address them before moving out. While you can handle some minor repairs yourself, it's best to consult a professional plumber or electrician for more complex problems to ensure safety and compliance with local regulations.
Touching up Paint, if Necessary
If the paint in your old home has scuffs, marks, or chips, consider touching up the affected areas to improve the overall appearance. Follow these steps to touch up paint:
-
Clean the area to be painted, removing any dirt or debris.
-
Lightly sand the area to create a smooth surface for the new paint.
-
Use a small brush or a foam roller to apply the matching paint color to the affected area.
-
Allow the paint to dry according to the manufacturer's instructions and apply additional coats as needed.
#4 Pest Control Measures
Before moving out of your old home, it's crucial to address any potential pest issues to provide a safe and hygienic living environment for the new occupants.
Carefully inspect your old home for any signs of pest infestations, such as:
-
Droppings or urine trails from rodents or insects
-
Gnaw marks on furniture, walls, or electrical wiring
-
Holes or nests in walls, ceilings, or other hidden spaces
-
Dead insects or insect wings on window sills, floors, or other surfaces
If you notice any of these signs, it's essential to take immediate action to address the problem.
#5 Prepare for the Next Occupants
Document the Condition of the House
Before moving out, take detailed photos or videos of your old home to document its condition. These visual records can serve as proof of the state you left the property in and may help resolve any disputes that may arise with the new occupants or the property owner.
Create a List of Any Remaining Issues
If there are any remaining issues or concerns with the property, create a comprehensive list detailing them. Share this list with the new occupants or the landlord to ensure they are aware of the existing problems and can address them accordingly.
Ensure Utility Services are Transferred or Disconnected
Before moving out, make sure to transfer or disconnect any utility services, such as electricity, gas, water, and internet. Notify the utility providers of your move-out date and provide the necessary information for transferring the services to the new occupants or disconnecting them, as needed.
Hand Over Keys and Relevant Documents
Lastly, arrange to hand over the keys and any relevant documents, such as appliance manuals, warranties, or maintenance records, to the new occupants or the landlord. This handover ensures a smooth transition and helps the new occupants settle into their new home more easily.
Conclusion
Moving out of your old home can be a stressful and time-consuming process, but taking the time to clean and prepare the property for the next occupants is an essential part of the transition. By following the steps outlined in this guide, you'll be able to de-clutter and organize your belongings, create a thorough cleaning schedule, address minor damages, implement pest control measures, and make necessary preparations for the new occupants. Not only will these actions help maintain the property's value, but they will also demonstrate your consideration and responsibility as a homeowner or tenant. As you embark on your new journey, you can take pride in knowing that you've left your old home in the best possible condition for those who will call it home next.